Overflight Imagery Protocol
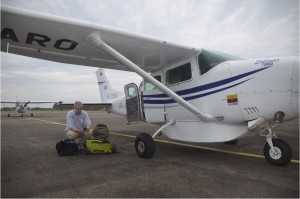
Below we detail our data collection protocol, covering the hardware you will need, the installation of the hardware pre-flight, and the post-flight processing. Any questions or comments can be directed to Corine Vriesendorp at The Field Museum (cvriesendorp_AT_fieldmuseum.org).
Hardware: (prices listed in USD)
- Photo Capture, $500
- GoPro Hero3+, $400
- Settings:
- Interval photo mode
- 12mp, wide angle
- 2 seconds per photo (This interval can be adjusted depending on the planned above ground elevation of the flight. 2 seconds was an appropriate interval for this flight at ~300m AGL.)
- GoPro waterproof housing, included
- GoPro standard battery, included
- GoPro “BacPac” extra capacity battery, $30
- 64GB micro SDXC memory card, $50
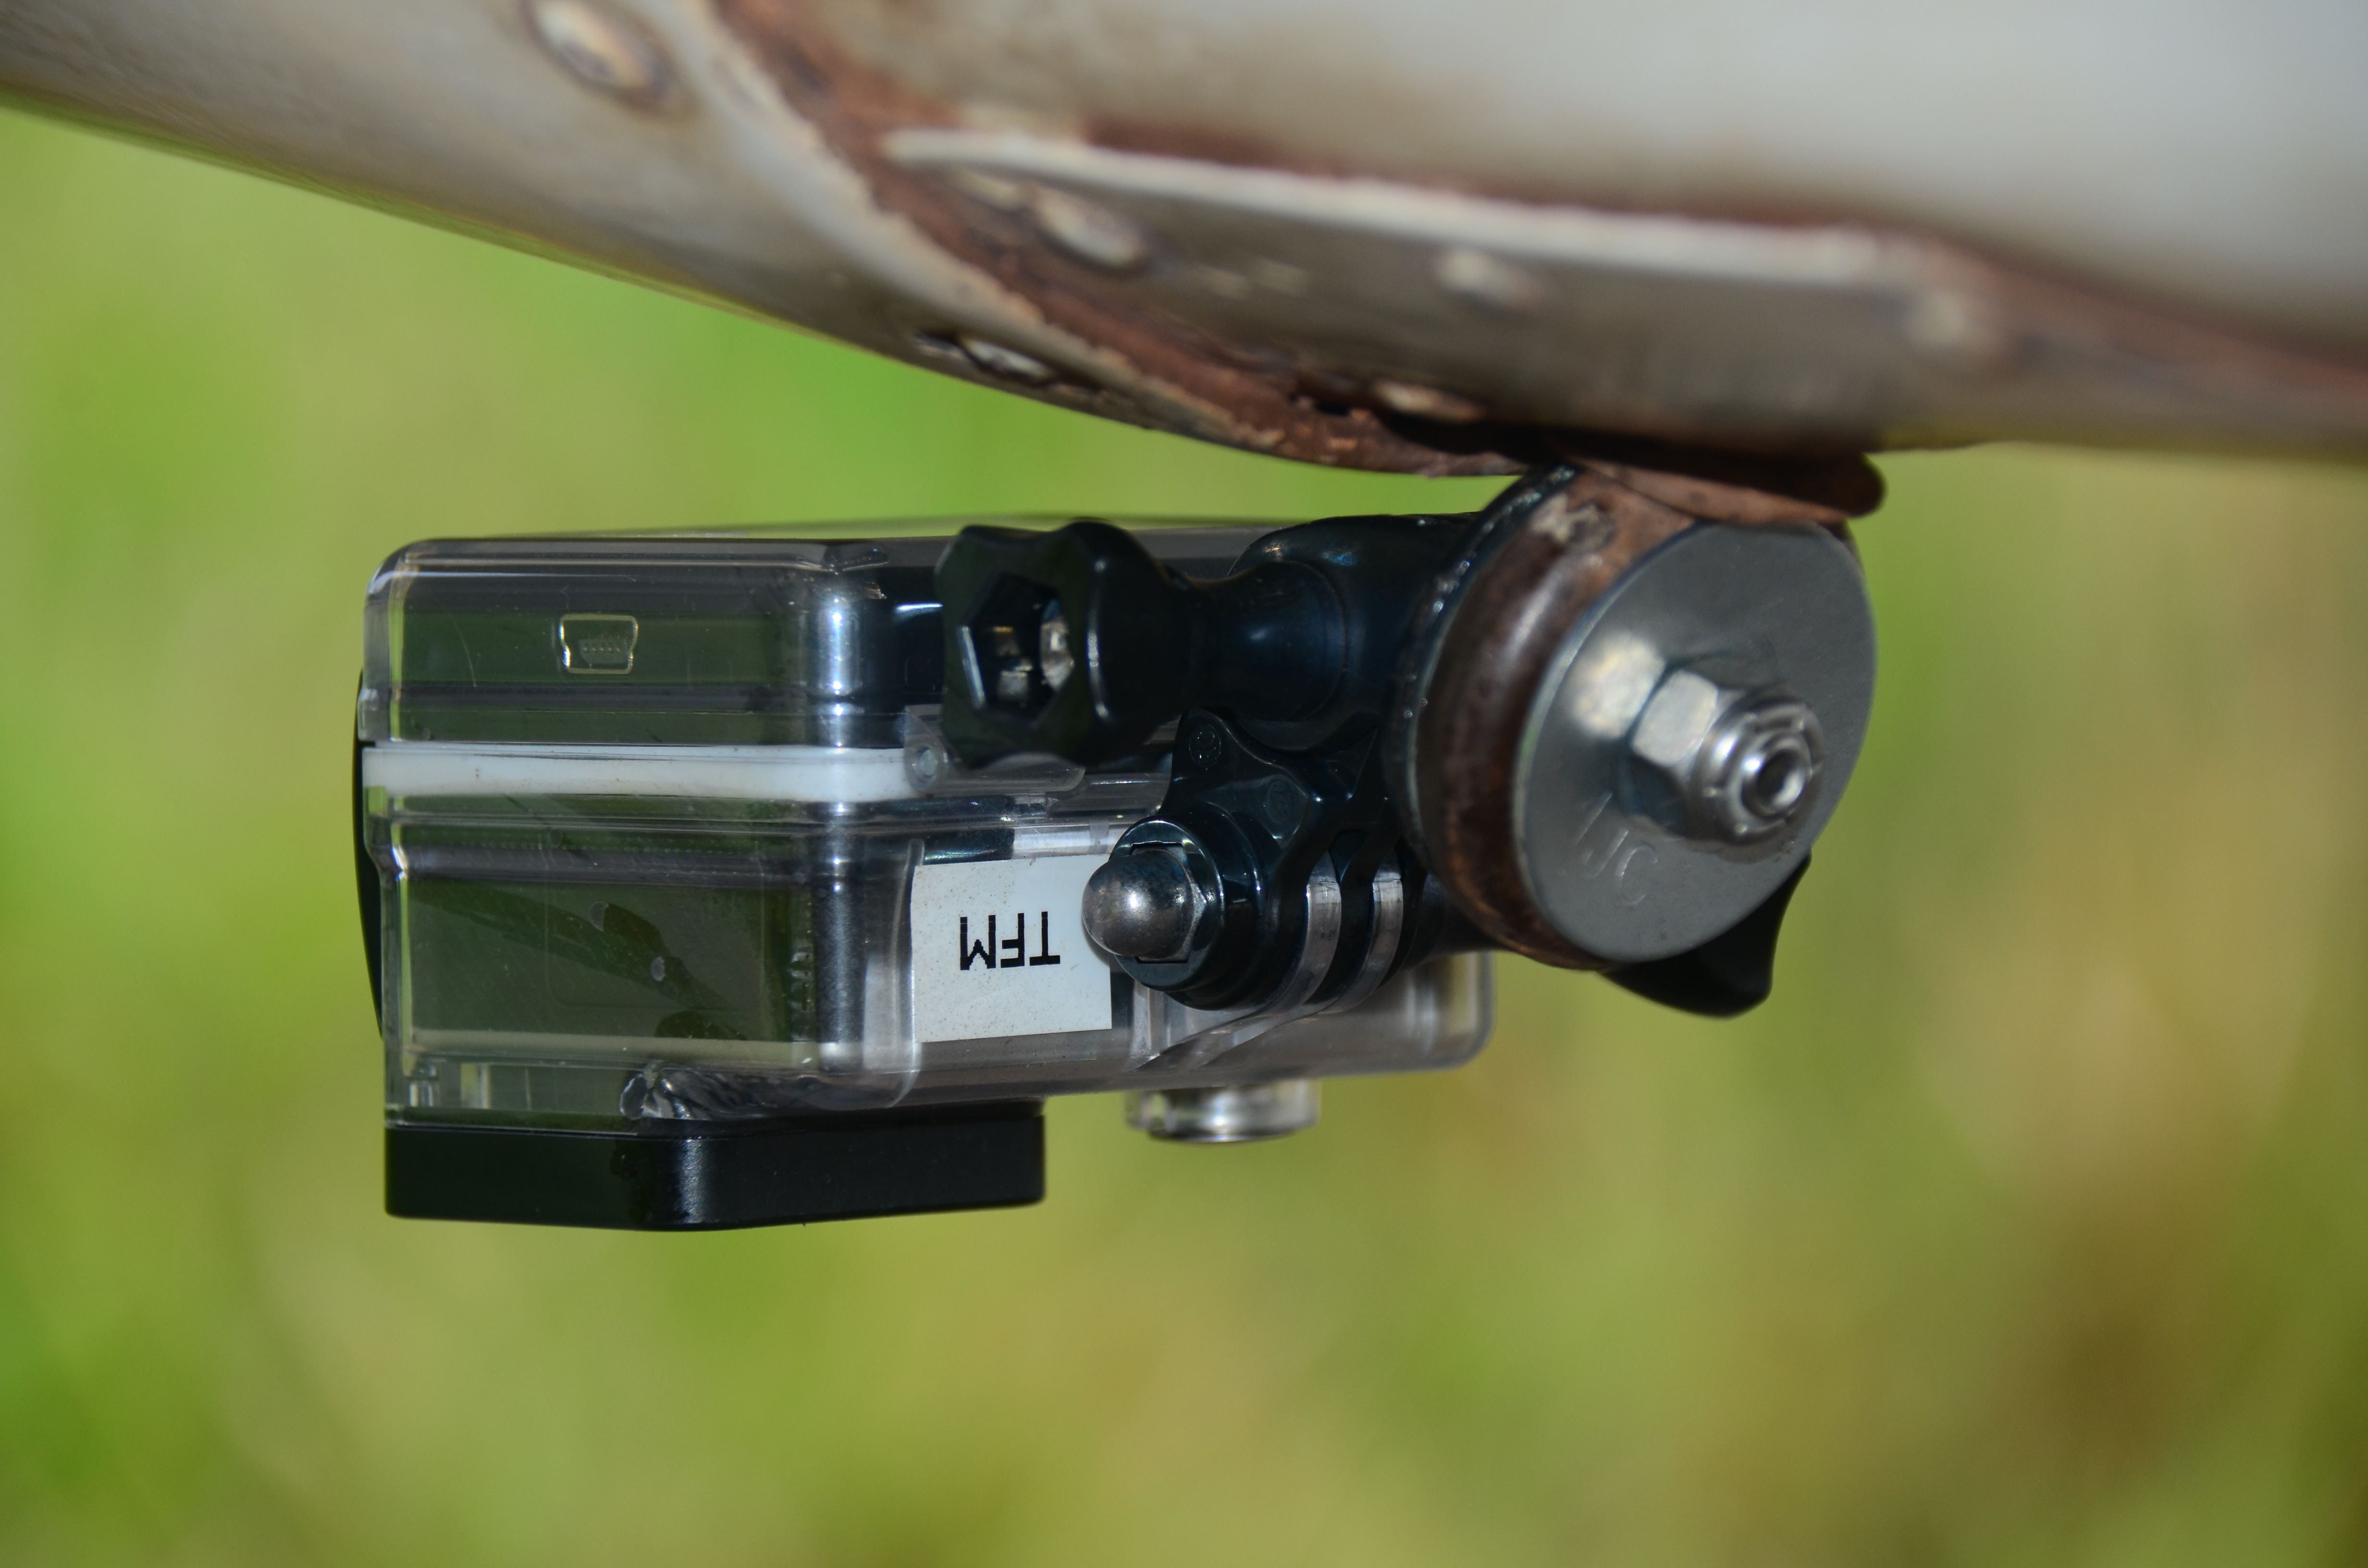
- We used a combination of GoPro mounts and items obtained from the hardware store. We were able to utilize a tiedown eyelet on the tail of the airplane but this location may not be available on the airplane you use. Make sure to consult with the pilot/aircraft operator on appropriate mounting procedure and location. $20
- Battery life. With these settings and fully charged standard and BacPac GoPro batteries we achieved ~4.4 hours of continuous recording.
- Settings:
- Video Recording, $535
- GoPro Hero3+, $400
- Settings:
- Video Mode
- 1080p, 30 frames per second, medium view angle
- GoPro Waterproof housing, included
- The housing was modified with a small hole to allow for a large capacity external battery to be used to power this camera.
- 64GB micro SDXC memory card, $50
- Switronix SWDVGP3USB GoPro Battery Eliminator USB (10’), $30
- Xuma XUBUB60G Portable Power Pack (6000 mAh), $35
- This brand and model of power pack is not required, but one of similar capacity (6000 mAh) should be used. The GoPro requires standard 2A, 5V USB power.
- USB Type A Male to Type A Female Extension Cable (6′), $4
- This was not used. It’s intended use is to extend the distance between the GoPro and the battery pack.
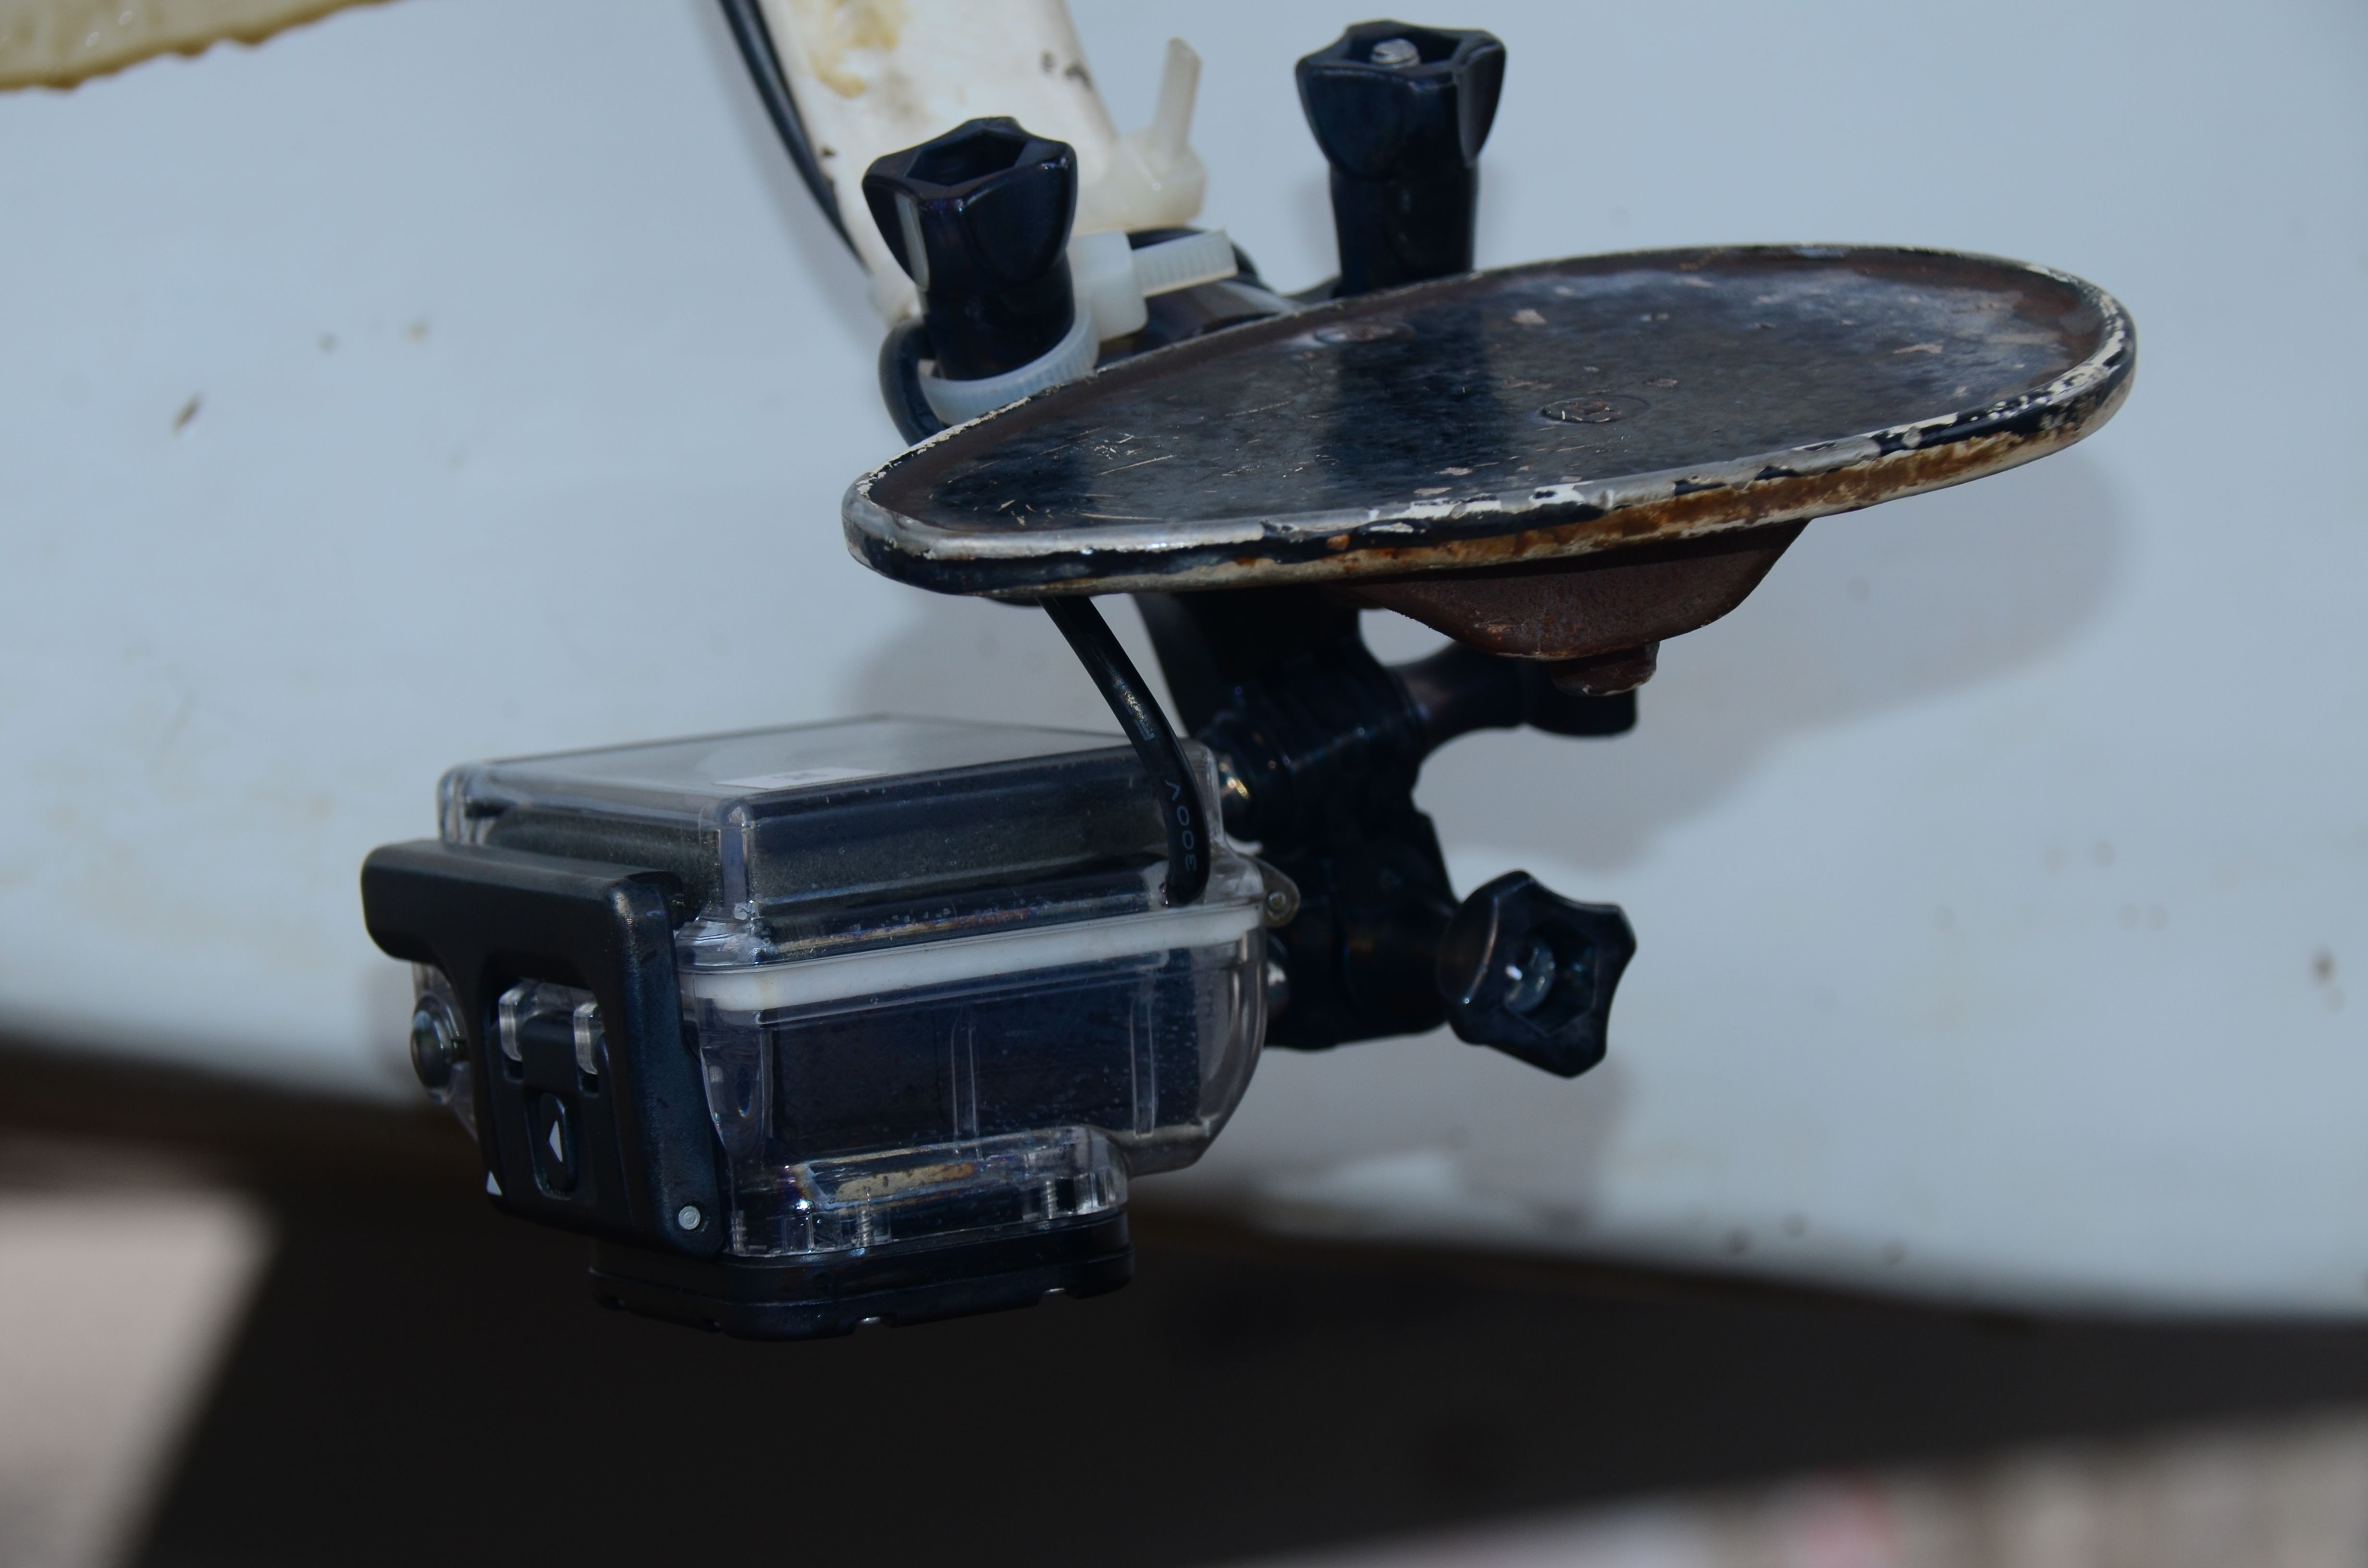
- We used the GoPro bar mount attached to the step strut of the airplane. Zip ties were used to secure the power cable along the length of the step strut. The cable was routed into the cabin through the bottom of the door. The USB cable was attached to the battery with tape and placed in a secure location within the cabin. Take care that the cable will not be cut when the door is shut. $20
- Battery life. With these settings and a fully charged battery over 6 hours of video recording was achieved. The battery display indicated approximately 1/3 capacity remained after 6 hours for an estimated total continuous recording time of 9 hours. Take care to power off the GoPro before removing external power as the file being recorded may become corrupted with abrupt power loss.
- Settings:
- GPS, $500
- Garmin GPSMAP 62stc $500
- The GPS unit was set to record a track point every 2 seconds. With the storage capacity of a modern GPS unit several weeks of data can be recorded at this interval.
- Place the GPS unit in an area where it will have an unobstructed view of the sky.
- Any GPSMAP 60, 62, or 64 series GPS will function very well as a location recorder. The 64 series has the added feature of GLONAS support which will provided better location precision.
- Garmin GPSMAP 62stc $500
- GoPro Hero3+, $400
- GoPro Hero3+, $400
Pre Flight
- Perform a final check that the camera(s) are securely attached.
- Start recording.
- Wait for the GPS to obtain a location fix and place the GPS while displaying the time with seconds in front of each camera. The precise time information is required to properly geotag the photos and video after the flight.
Post Processing (There are many similar software products available which may be used for the post processing steps. Use the software that you have access to and are most comfortable with.)
MAKE A COPY OF THE ORIGINAL PHOTOS AND VIDEOS. DON’T LET AN ERROR IN POST PROCESSING RESULT IN THE LOSS OF PHOTOS.
- Create GPX file (1 hour)
- Garmin Basecamp (Win & Mac)
- Download the track from the GPS into BaseCamp
- Fix and combine any gaps in the track.
- Export the track as GPX
- BaseCamp has a geotagging function but it is difficult to work with.
- Rename photos (optional) (processing time, 1 sec/100 photos)
- Name Mangler (Mac Only, other similar software is available)
- Using a utility like Name Mangler to rename the photos is helpful to organized the photos since the GoPro name is just a repeating sequential number. If your overflight is long enough you may end up with two photos with the same name.
- Geotag Photos (processing time, 2 sec/photo)
- PhotoLinker (Mac Only, other similar software is available)
- Import GPX track
- Import photos
- Compare the capture time on the photo of the GPS to the time shown on the GPS. If they are different use the time shift function so that they match.
- Write geotag info to the photos
- Save the changes.
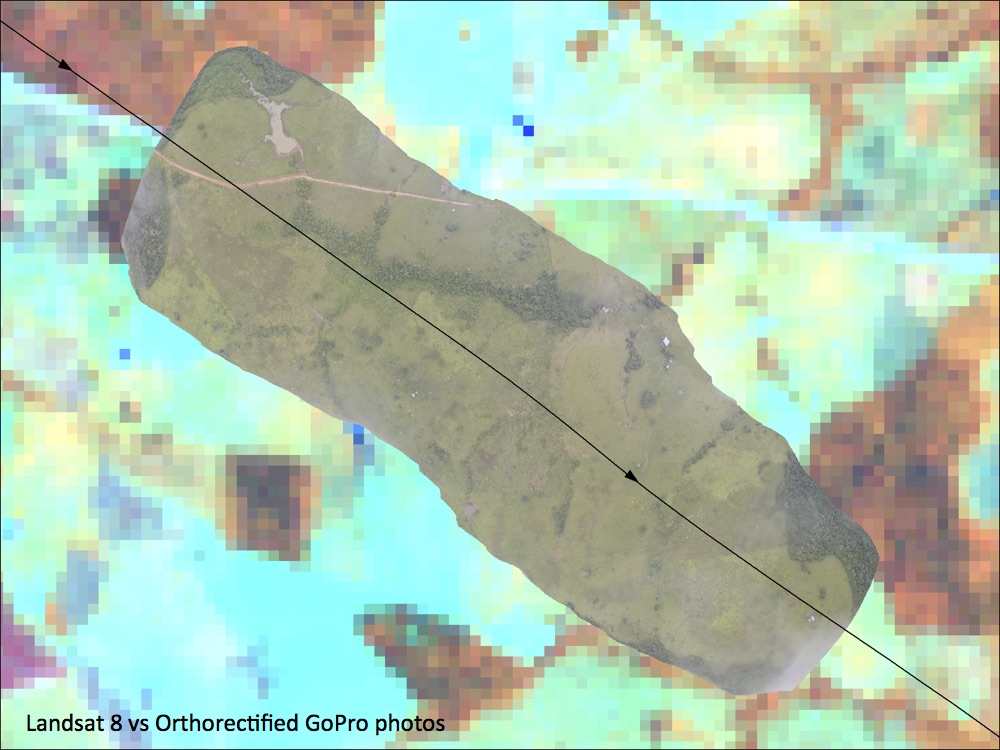
- Rectify (processing time, 2 sec/photo)
- PTLens (Win & Mac)
- Use this software to flatten the fisheye effect from the original photos
- Settings (adjust these based on your needs)
- Correct Distortion: FishEye
- Fisheye Distortion: 119
- Fisheye Crop: 15
- PTLens will make a copy of the image with the specified suffix added to the file name
- Create mosaic orthophoto (15 min/mosaic [~30 photos])
- Photoscan Pro (Win & Mac)
- Detailed orthophoto instructions are available here:
http://www.agisoft.ru/tutorials/photoscan/05/ - With aerial photos captured along a straight flight path the software may have difficulty determining the orientation of the photos. Rotate the final textured model around the flight axis so that it is properly orientated parallel to the XY plane.
- Export the orthophoto as a GEOTIF for use in a GIS or KML for viewing in Google Earth.
- Detailed orthophoto instructions are available here:
- Photo location in GIS (1 sec/photo + 30 mins)
- BR EXIF extractor (Win only)
- Use this utility to create a csv table that contains the file path, latitude, longitude, and altitude. You may choose to have additional EXIF parameters added based on your needs.
- In Excel or a text editor add column names in the first row.
- ArcGIS (or other GIS program)
- Import into ArcGIS
- Use the “Display XY data” function and select the latitude and longitude fields.
- Export as a point shapefile or feature class.
- In the new feature class properties under the “Display” tab check “Support Hyperlinks” and specify the Path field.
- Using the hyperlink tool you will now be able to open the image from the map.
- BR EXIF extractor (Win only)
- Photoscan Pro (Win & Mac)
- PTLens (Win & Mac)
- PhotoLinker (Mac Only, other similar software is available)
- Name Mangler (Mac Only, other similar software is available)
- Garmin Basecamp (Win & Mac)
Useful links:
http://www.paulillsley.com/GoPro/Airphoto/
http://www.garmin.com/en-US/shop/downloads/basecamp
http://www.earlyinnovations.com/photolinker/
http://www.br-software.com/extracter.html
http://epaperpress.com/ptlens/